Integrate Squarespace with Hive

Hive integrates directly with Zapier, letting you connect your business or premium SquareSpace account to Hive to sync your contacts. If you’ve created a signup form on your Squarespace account and want to automatically funnel those new contacts into Hive, follow these steps.
- Account Creation and Hive Connection
If you don’t have a Zapier account yet, make one here!
Start by connecting your Zapier account to Hive using this invitation:https://zapier.com/developer/public-invite/3798/afafc23c03c213317aaa47b4d1af6fd6/
Create a Zap! Once you've accepted the invite, click the Make a Zap! button on the Zapier Dashboard.
- Set Up Your Trigger
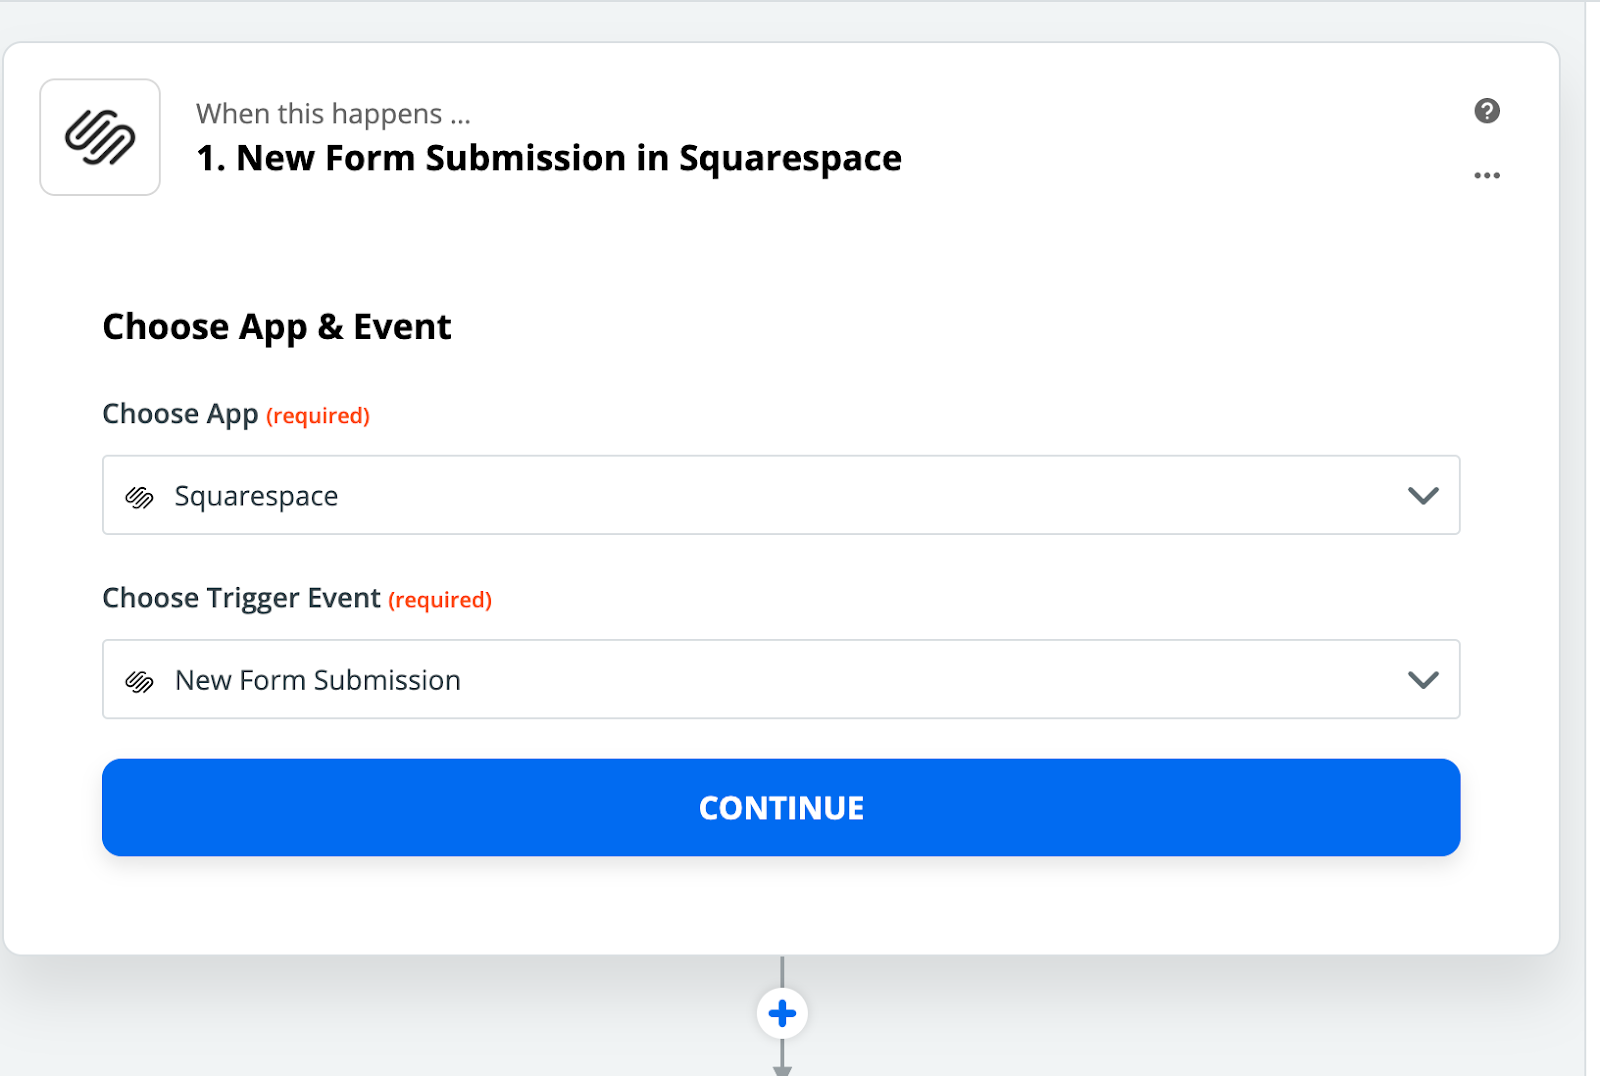
For this instance, you’ll want to create a zap that imports your SquareSpace contacts into a Hive segment. Do this by choosing Squarespace as your App and “New Form Submission” as your trigger event.
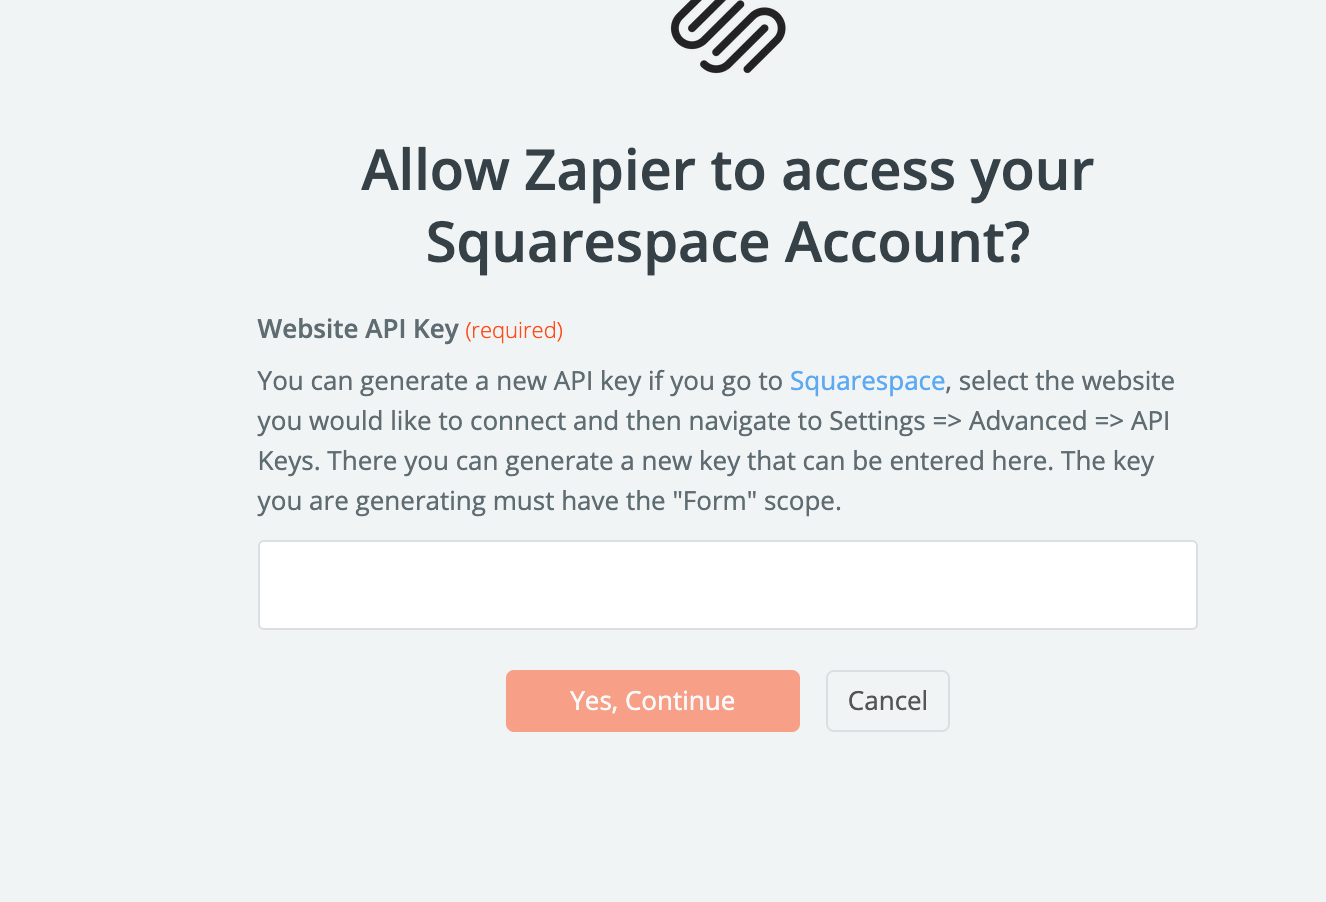
- You’ll be asked to fill out your API Key in order to connect your website to Zapier (follow the instructions in the screenshot below to get your API key). Once you paste in your API key, click the button “Yes, Continue”.
- Set Up Your Action
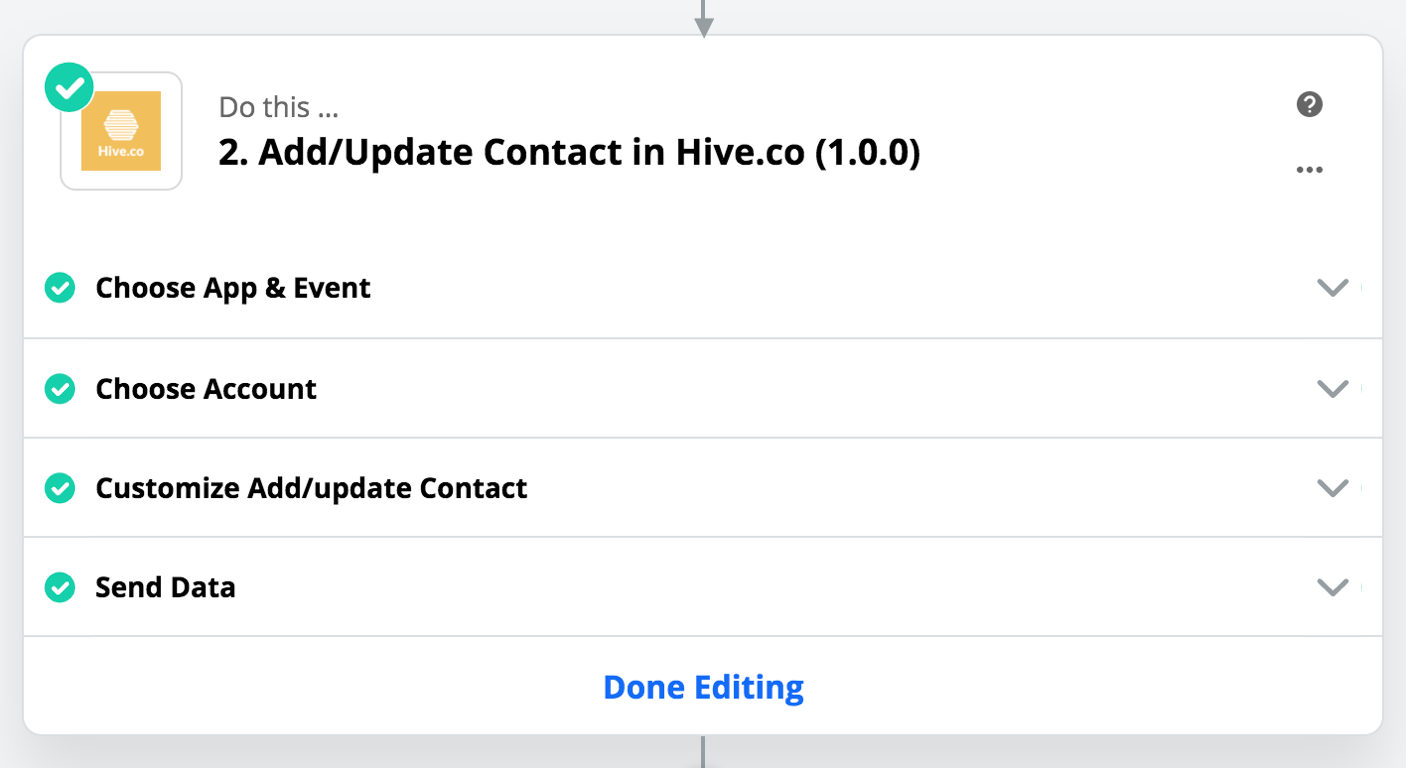
In the following step, choose Hive as the App you’ll use once the trigger has been created, and choose “ Add/Update Contact” as the Action Event.
- Next, choose which Brand and Segment in your Hive account you’d like to sync your Squarespace contacts to.
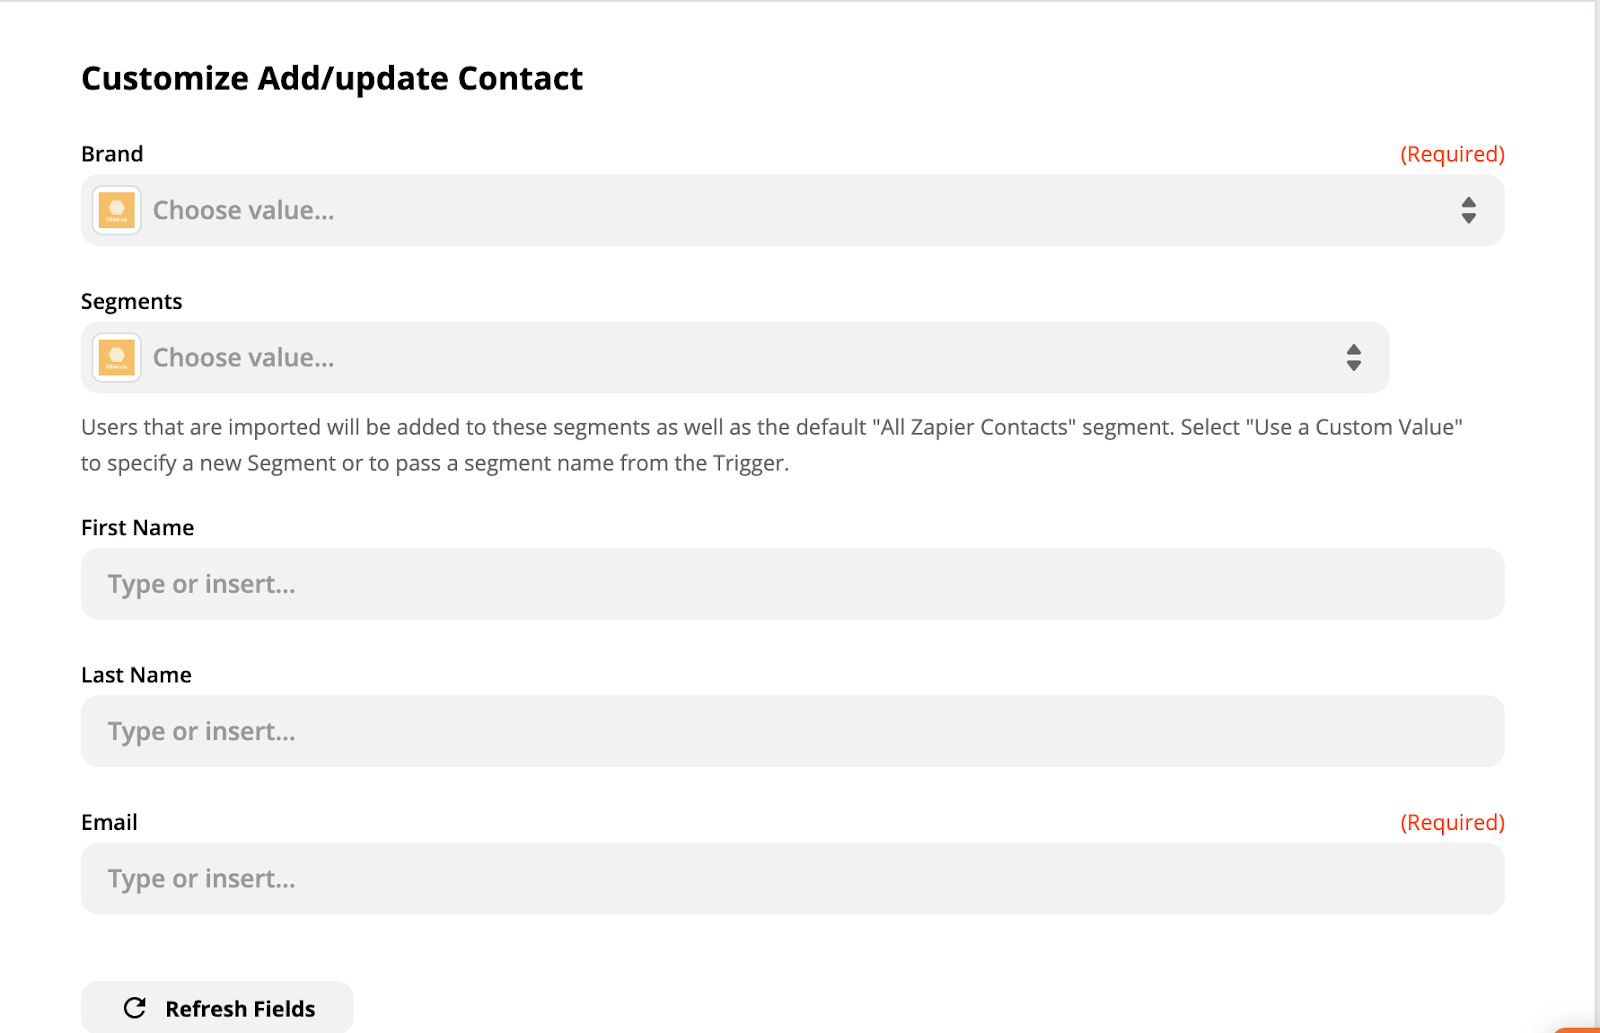
- In the Email drop-down, select the data type in your Squarespace form that collects the user's email address. This will sync the email address from Squarespace into Hive. Optionally, you can also sync first and last names into Hive by selecting the data types for First Name and Last Name.
- Click “Test & Review” to see if the connection is working as expected.

When it is set up successfully, a green checkmark icon will appear in the top left of the step.
- Name Your Zap
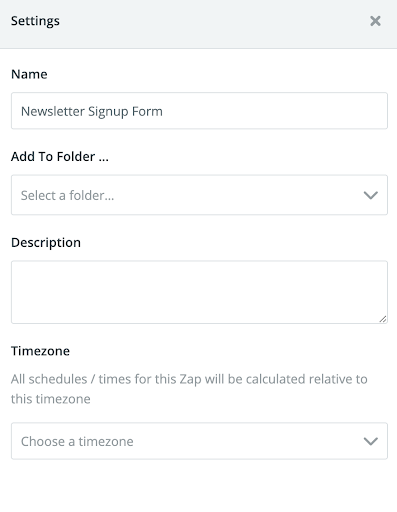
Next, give your Zap a name so you can easily identify it on your dashboard. In the upper left, click Name your Zap and enter a new name for your Zap.
To add more information about your Zap, give your Zap a description. In the right sidebar, click the gear icon to open the Settings tab, then enter your text in the Description field. Your changes will be saved automatically.
- Set Your Zap Live
After you successfully set up and name your Zap, you’re ready to turn it on. In the upper right, toggle the switch ON.

Once your Zap is turned on, Zapier will automatically funnel the contact information into Hive each time your newsletter sign-up form is completed through Squarespace.