How to Use the Content Block

The template editor in Hive is a simple drag and drop format, ensuring you can design great looking templates in a short period of time.
- To create a new template from scratch, click templates in the left sidebar on your dashboard > +New Template
- Choose whether this template is for a one-time email campaign or an email automation
Below are some of the key concepts of the template editor:

Content Blocks
Content blocks contain the content you want to include in an email. There are a number of different blocks to choose from, including text boxes, images, buttons, etc.
To use a content block, simply click Content in the right sidebar of the template editor, and then drag and drop the block you want to use into the template.
Padding
You can change how much padding you want around your content block or row by clicking directly on the block/row.
On the righthand sidebar that appears, scroll down to "general" and adjust how much padding you'd like there to be around the content block or row.
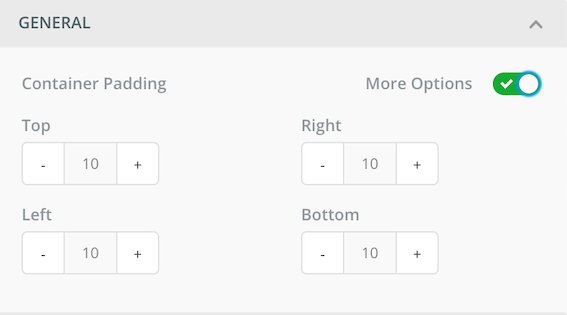
You can also adjust the padding on only 1 side of the block or row. To do this, toggle the "more options" button. In this section, you can adjust the padding on the top, bottom and sides of the block or row.
Rows and Columns
By default, new rows in the template editor will only have one column. You can drag and drop a column content block into the row to add more columns.
From there, you can drag and drop the specific content blocks of your choice into the individual columns.
Editing Images in the Template Editor
Drag and drop the "image" content block into the desired location on your template, and upload your image into the template from your computer or by using the image URL.
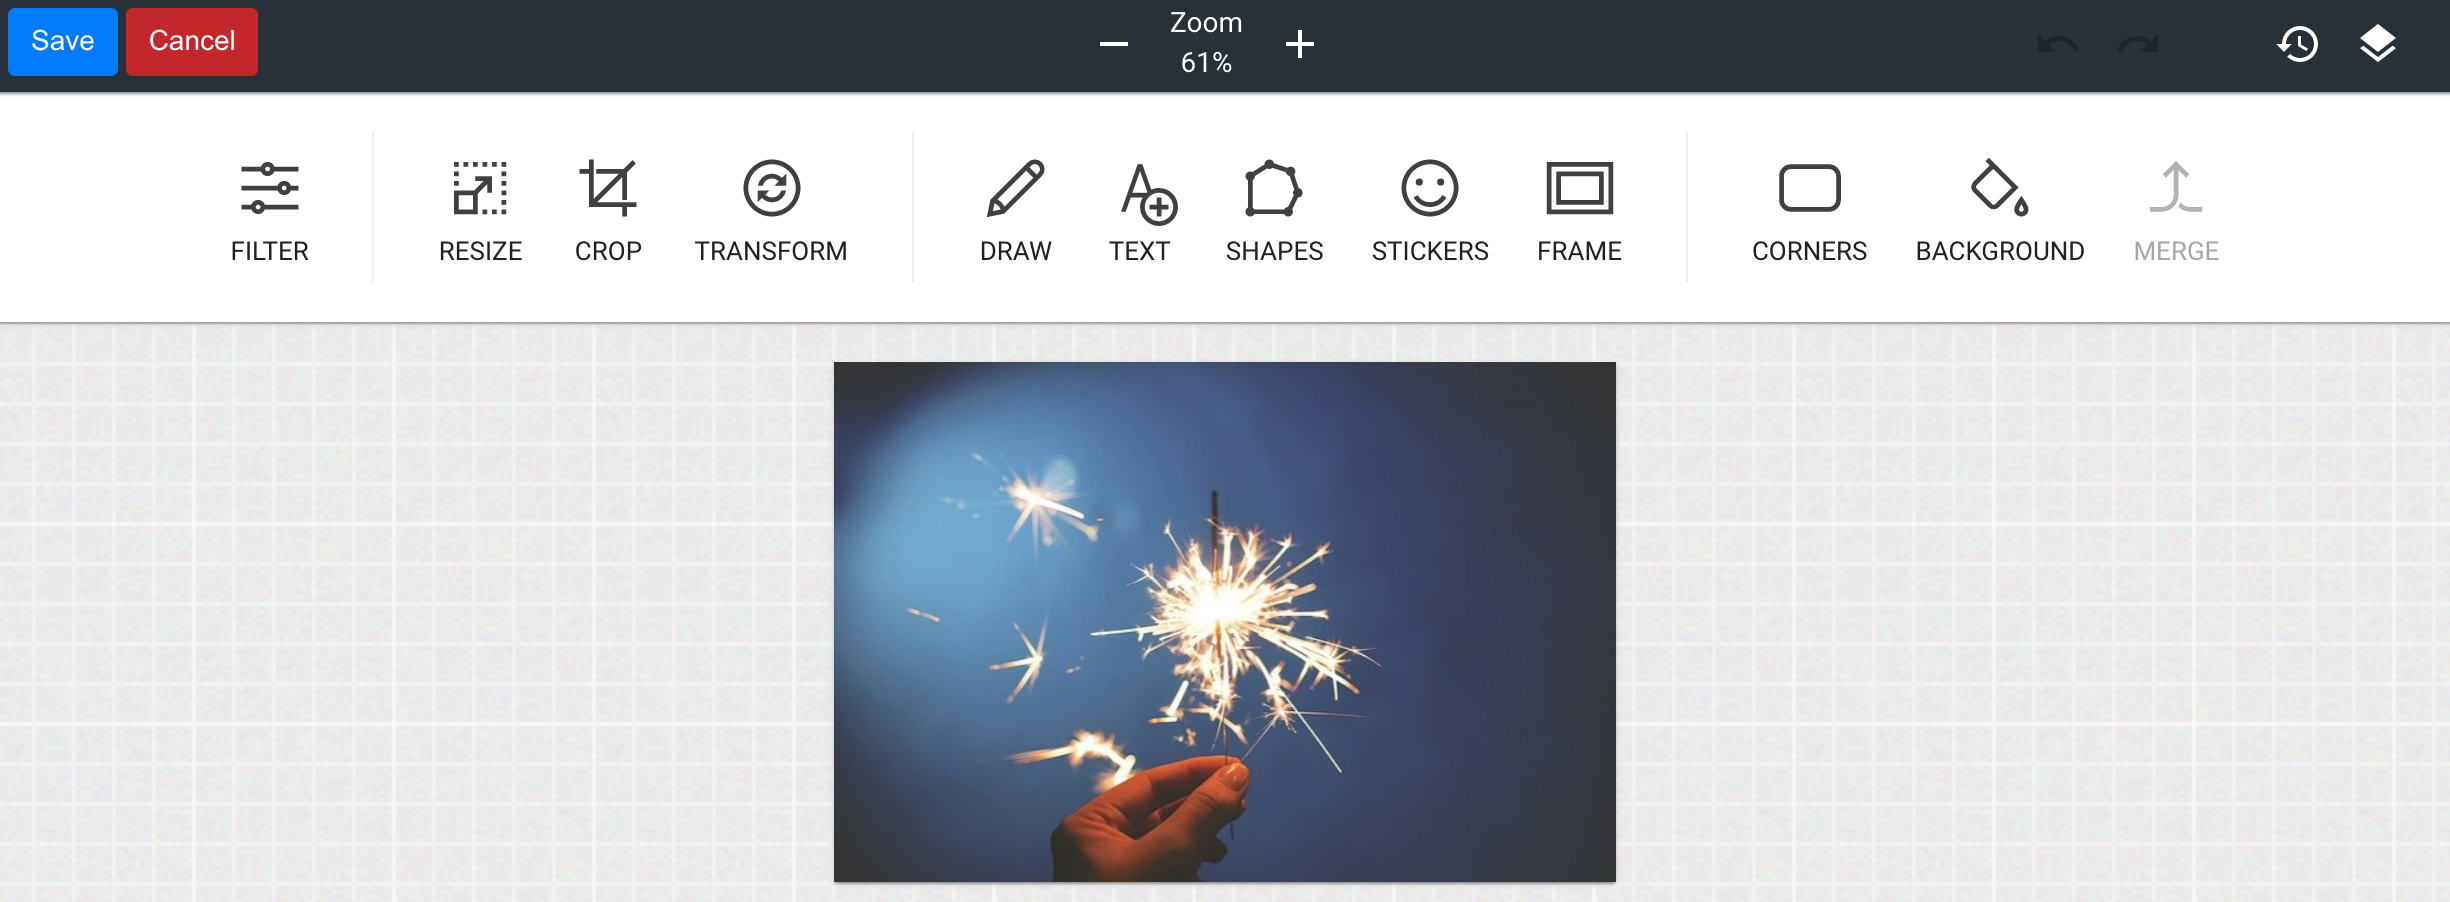
Click the image, and in the same right-hand sidebar, click Apply Effects & More.
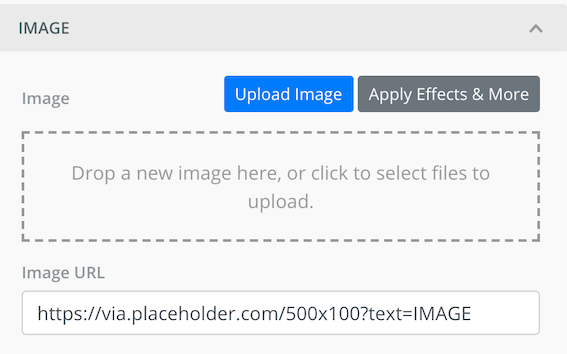
Here, you can crop, resize, or add filters/text to the image.
Buttons
Buttons are a great call-to-action within templates and can be linked out to any webpage.
To hyperlink a button, click the button on your template. In the righthand sidebar under "link", you can input the URL you'd like the button linked to.
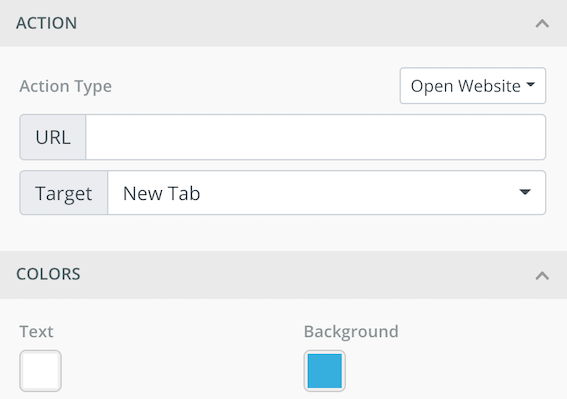
In the same righthand sidebar, you can adjust the color and padding of the button.
To adjust the font and font size, click the button on your template and use the text editor that populates.

Template Colors
You can change the background color of rows, as well as specific content blocks.
To change the color of a row, click a row on your template and a sidebar will appear. Under "row properties" click on Background Color and adjust the color using the color editor.
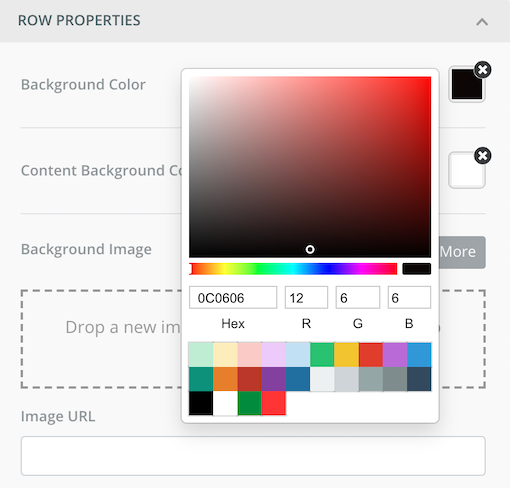
To change the background color of content blocks in that row, click on the content background color and select your desired color.
Saving Rows
If you frequently use the same images/logos/buttons, you can save the content blocks to use them in the future across multiple templates!
Click on the row settings, and click Save on the bottom right of the row.
Name the row, and click Save.
Now that the row is saved as a block, you can easily drag and drop it into any template.